Why Most Smart Home Setups Stall — and How to Avoid That
The most common reason people abandon smart home projects isn't cost or technical difficulty — it's scope creep. They buy too many devices at once, encounter a compatibility issue, and can't tell which purchase caused the problem. The solution isn't to become a tech expert; it's to slow down and sequence the process deliberately.
Before you look at any devices, spend a few minutes understanding the basics. Our overview of how smart devices work together explains what to expect, and the guide to wireless protocols will help you understand why device compatibility isn't automatic. Also be aware of the pitfalls that catch first-time buyers off guard, including subscription fees and hub requirements that aren't always prominently disclosed.
What you will need
What You'll Need to Get Started
Smart home setups vary widely in complexity, but most beginner configurations share the same core requirements. A reliable Wi-Fi network is the single most important foundation — spotty coverage will cause connectivity problems that look like device defects. If your router is several years old or your home is larger than one story, it may be worth evaluating your network before adding devices.
Smart plug
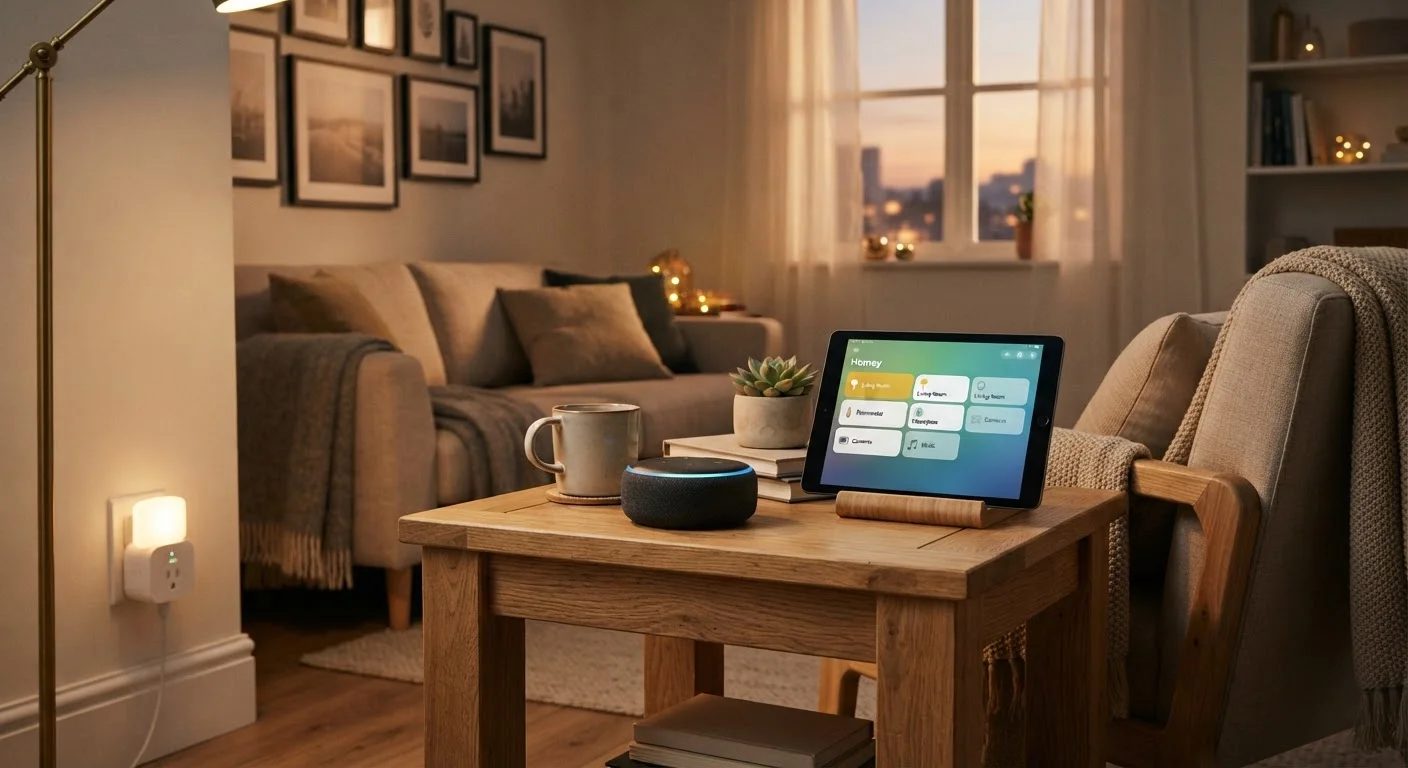
Adds remote on/off control and scheduling to any standard lamp or small appliance without replacing existing hardware.
Smart speaker or display
Acts as a voice-controlled hub for issuing commands and managing connected devices hands-free.
Mesh Wi-Fi router system
Ensures consistent wireless coverage across all rooms, which is essential as your device count grows.
Smart hub or bridge
Required for Zigbee or Z-Wave devices that cannot connect directly to your router's Wi-Fi network.
Test Your Wi-Fi Coverage First
Walk through each room you plan to add devices to and run a quick speed test on your phone. If you're seeing speeds below 10 Mbps or frequent drops, address your network before adding smart devices. A mesh Wi-Fi system can resolve most dead zone issues without requiring new wiring or professional installation.
Follow These Steps to Build Your Setup
The steps below are designed to be followed in order. Skipping ahead — especially to automations before basic connectivity is confirmed — is the most reliable way to end up frustrated. Take each step at the pace that feels comfortable; there's no meaningful advantage to rushing.
Understand what you're working with before buying anything
Read up on how smart devices connect and communicate. Protocols like Wi-Fi, Zigbee, and Z-Wave determine which devices can work together — and buying the wrong mix is the most common beginner mistake. Our introduction to smart home devices is a good starting point, and the smart home glossary will help you decode any confusing terminology.
Pick one ecosystem and commit to it
Amazon Alexa, Google Home, and Apple HomeKit are the three dominant ecosystems in the U.S. Each one works differently, supports different devices, and has different privacy trade-offs. Choose based on the devices you already own (phones, tablets, streaming devices) and the level of privacy control you want. Mixing ecosystems is possible but adds meaningful complexity — especially for beginners.
The emerging Matter protocol aims to improve cross-ecosystem compatibility, but full adoption is still uneven across device categories. Don't count on it solving compatibility issues for every device you buy today.
Start with one low-stakes device in one room
A smart plug is the ideal first device for most households. It requires no wiring, works with existing lamps and appliances, and teaches you the core loop: connect the device, configure it in the app, and optionally link it to a voice assistant. Once that single device is working reliably, you've validated your network, your app setup, and your comfort level.
Resist the urge to set up five devices at once. Troubleshooting one problem at a time is far easier than untangling a multi-device setup that isn't working.
Expand room by room, not device category by device category
Once one room feels stable, move to the next — rather than adding, say, smart bulbs across every room simultaneously. A room-by-room approach lets you test network coverage and app behavior in a contained area before scaling. It also makes it easier to notice whether a specific room has Wi-Fi dead zones that might need a mesh extender.
Common room progressions: living room → bedroom → kitchen → entryway. Each room tends to have distinct device needs, so research each separately rather than applying a one-size-fits-all list.
Set up automations only after manual control is working
Automations (schedules, triggers, scenes) are what make a smart home feel genuinely useful — but they should come after you've confirmed every device works correctly on demand. Automating a device that has connectivity issues will frustrate you far more than a simple manual control problem would.
Start with one simple automation: a scheduled time for a light to turn on or off. Build from there once that routine runs reliably for a week.
Review privacy settings before considering the setup complete
Smart home devices — particularly voice assistants, cameras, and smart plugs — collect usage data. Before moving on from any new device, open its app settings and review what data sharing options are enabled by default. Disable anything you're not comfortable with. Our article on smart home privacy and data collection covers what to look for and what the trade-offs typically are.
Expanding Into the Kitchen and Beyond
Once your foundational rooms are running smoothly, the kitchen is a natural next area to explore. Smart displays, in particular, can serve as a central control point for the whole home while also functioning as a recipe viewer or timer — a useful combination for a working kitchen. See our comparison of smart speakers versus smart displays to understand which format suits different kitchen layouts and routines.
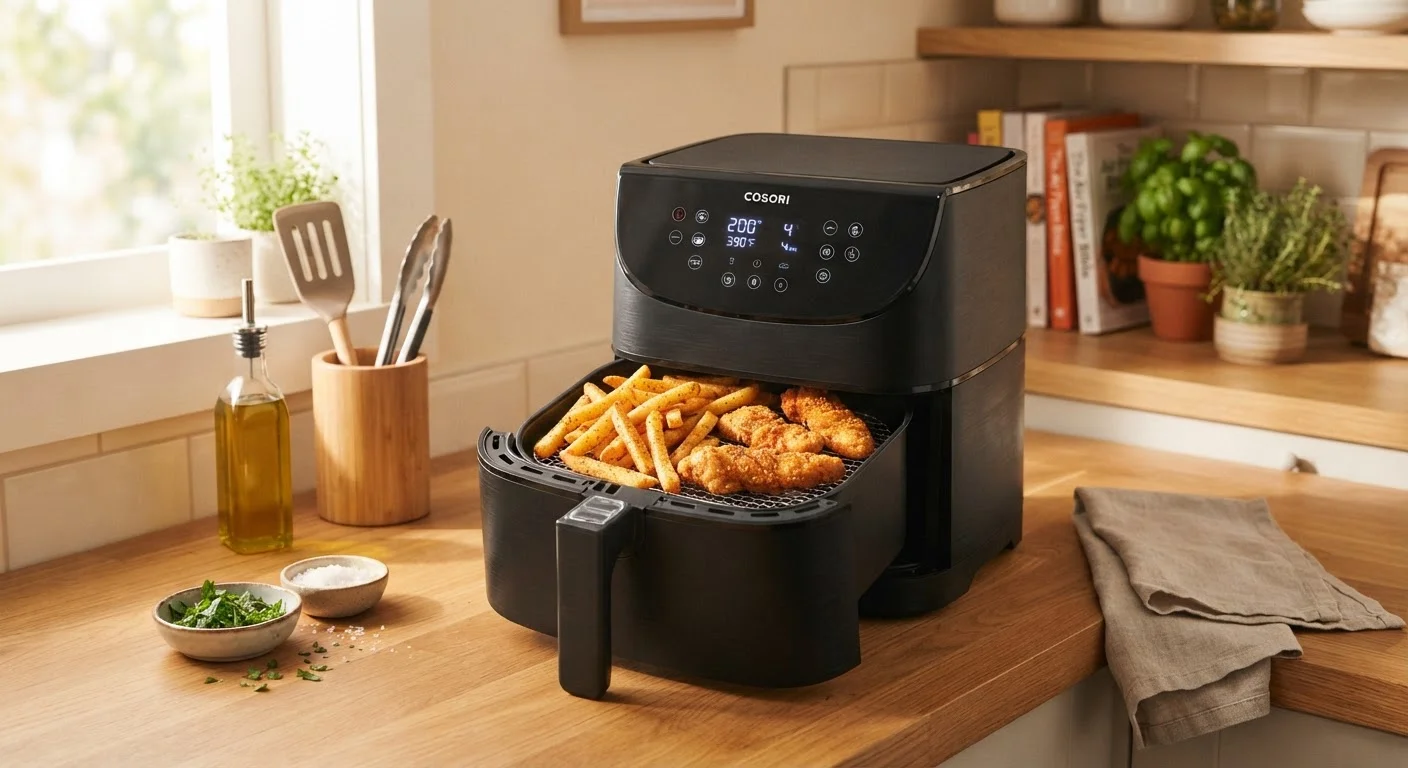
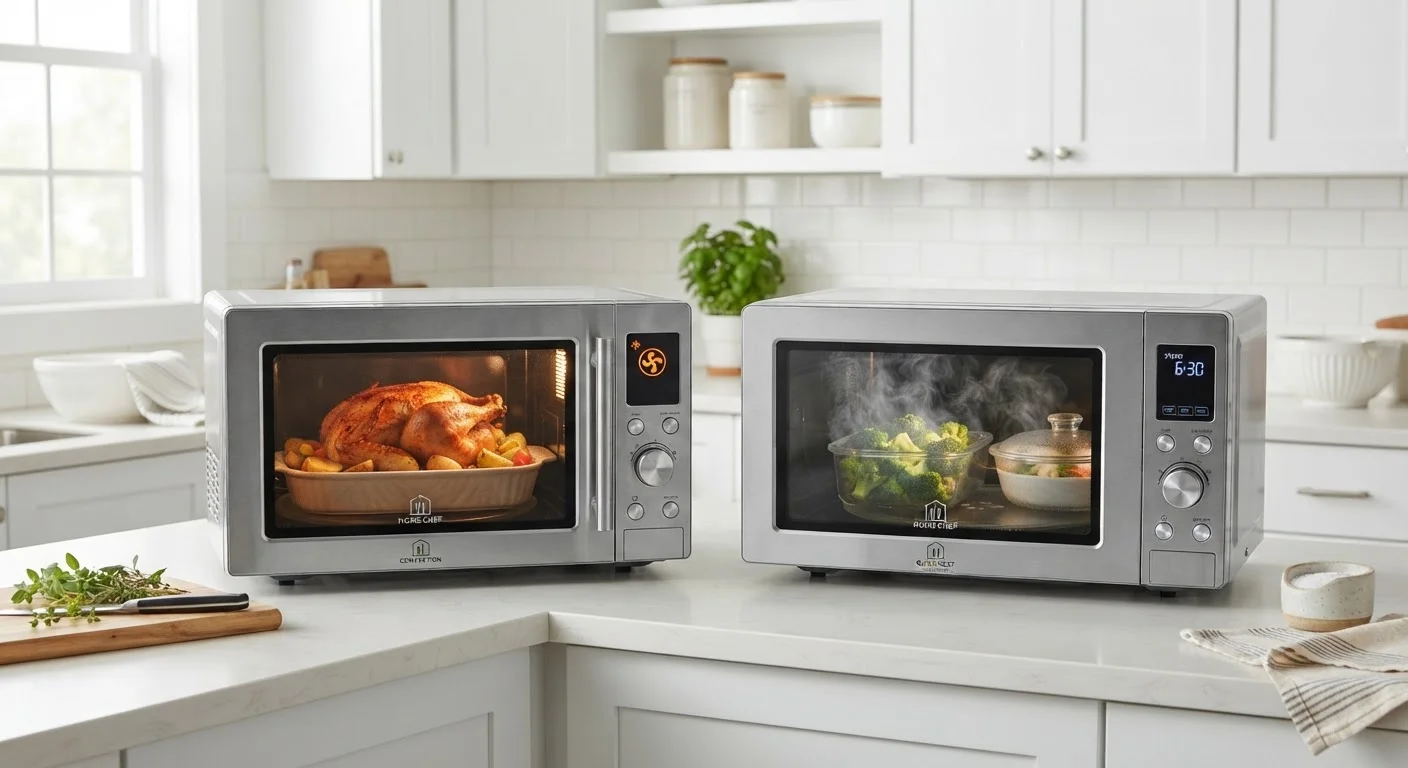
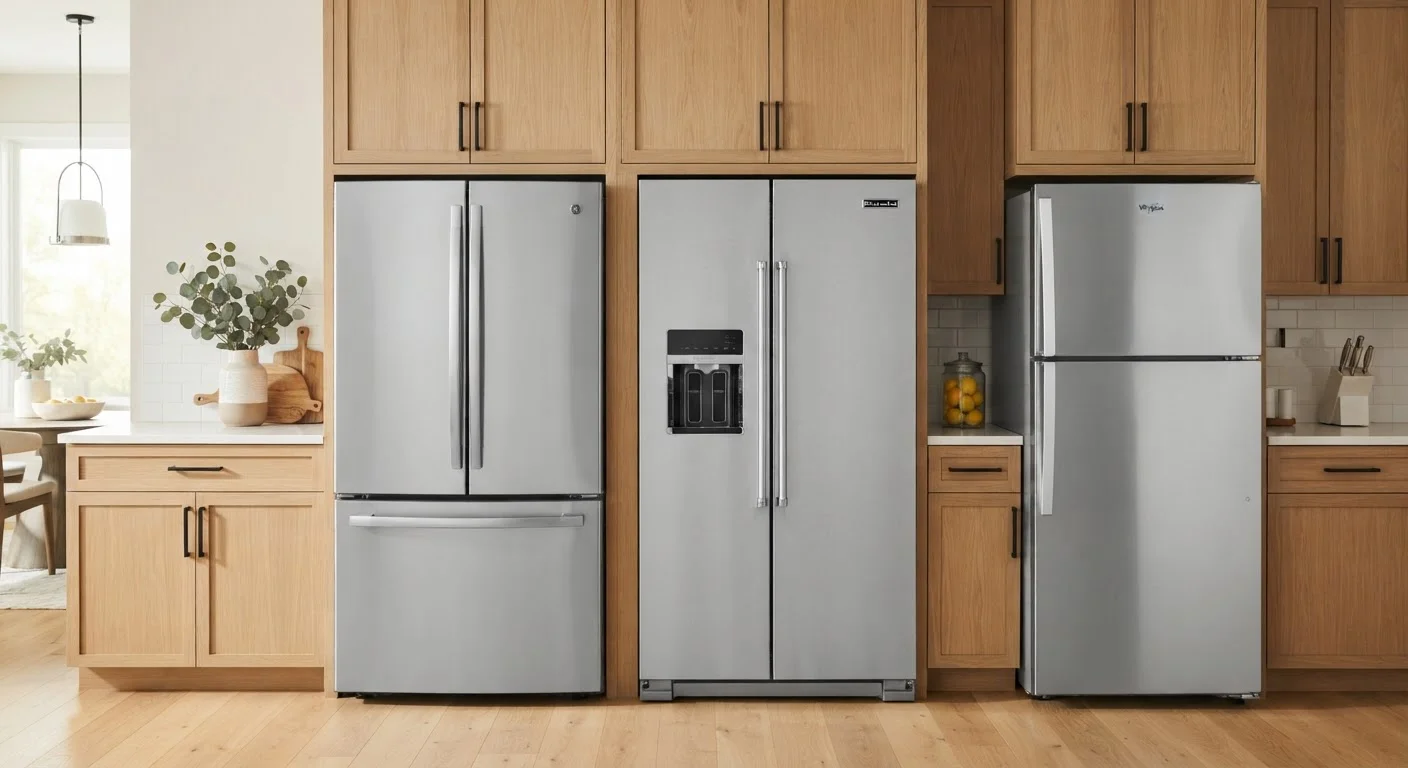
If you're still outfitting your kitchen with standard appliances alongside smart devices, our introduction to kitchen appliances for first-time buyers helps you prioritize what to buy and in what order — which pairs well with a gradual smart home rollout.
Watch for Hidden Subscription Costs
Some smart home features — particularly cloud storage for cameras, advanced automation options, or remote access — require ongoing subscriptions that aren't always disclosed at the point of purchase. Before committing to a device category, check whether the features you care about are available without a recurring fee. Factor that cost into your decision, not just the hardware price.