Why Consistent Missed Spots Are a Setup Problem, Not Just a Device Problem
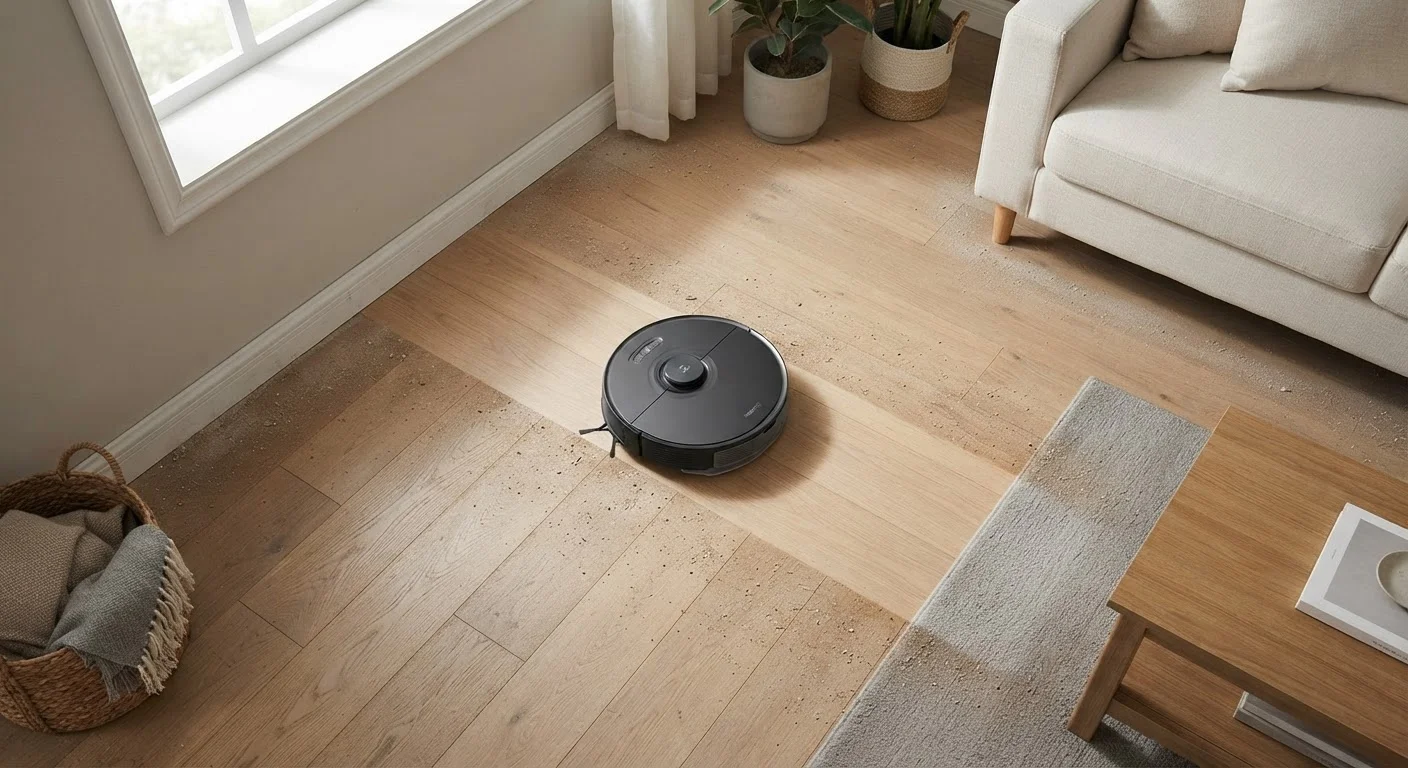
If your robot vacuum reliably skips the same corner, the same patch under the dining table, or the same strip along the baseboard, the cause is almost never random. Robot vacuums use a combination of sensors, onboard mapping algorithms, and stored floor plans to navigate. When any part of that system receives bad input — whether from a cluttered environment, a dirty sensor, or a poorly placed dock — the robot makes the same navigation decision every single run.
Understanding the specific reason for each missed area allows you to intervene at the right level. Resetting the map, repositioning furniture, or simply cleaning a sensor can resolve issues that owners sometimes assume require a replacement unit. If you've ever wondered how a robot vacuum compares to a more manual approach, see our comparison of robot and upright vacuums to understand where each method genuinely excels.
Letting the robot learn a map in a cluttered room.
Why it happens: Owners often run the first mapping pass without tidying up, assuming the robot will adapt later. Instead, the unit encodes obstacles as permanent features.
Placing the charging dock in a corner or against a side wall at an angle.
Why it happens: Docks are tucked away for aesthetics, but an angled or cornered dock causes the robot to exit at an inconsistent heading, skewing the entire map from the origin point.
Ignoring dirty or obstructed navigation sensors.
Why it happens: Sensor degradation is gradual, so owners attribute worsening coverage to software or age rather than a simple maintenance issue.
Using virtual no-go zones that inadvertently block access to adjacent areas.
Why it happens: Virtual boundaries are drawn quickly in apps without considering how the robot calculates entry paths, sometimes sealing off entire zones the user intended to clean.
Expecting the robot to clean under furniture it physically cannot fit beneath.
Why it happens: Clearance specs in product listings are often given as a single number, but actual ground-to-frame height varies across furniture legs and floor types.
How to Diagnose and Correct Coverage Gaps
Once you've identified the category of problem — mapping, physical obstruction, sensor error, or dock placement — the correction is usually straightforward. Start by running the vacuum in its mapping mode (if available) in a fully prepared room: furniture legs cleared of draped cables, floor-level clutter removed, and all doors set to the position you want maintained during cleaning.
~30%
Coverage lost to poor dock placement
Internal navigation studies cited by robotics researchers suggest that suboptimal dock positioning can reduce effective floor coverage by roughly 30% on complex floor plans.
2–4 weeks
Recommended sensor cleaning interval
Most robot vacuum manufacturers recommend inspecting and wiping navigation sensors every two to four weeks in average-use households to maintain path accuracy.
Sensor maintenance is frequently overlooked. The cliff sensors on the underside of the unit and the optical or LiDAR sensors on the top collect dust and pet hair over time. A dry microfiber wipe on each lens every few weeks costs nothing but can restore the navigation accuracy of a unit that appears to be failing. Our guide on cleaning appliance maintenance covers the full list of components worth keeping clean.
Don't Delete Your Map Without Preparing First
Resetting the stored map removes all room labels, no-go zones, and cleaning schedules permanently. Before deleting, note your current zone boundaries and schedule settings so you can recreate them after the new mapping run completes. Doing a re-learn in a messy room will simply reproduce the same navigation gaps.
For persistent mapping errors, a full map deletion and re-learning run is often the most reliable fix. Place the dock in a stable, central location — not wedged into a corner where the robot exits at an angle — and let the unit complete at least two full learning passes before scheduling automated runs. First-time robot vacuum owners will find additional setup context in our article on smart home setup surprises.