Why Product Order Actually Matters
It's easy to assume that makeup order is just a stylistic preference. In reality, the sequence in which you apply products directly affects how well they adhere, blend, and last throughout the day. Applying a heavy cream product over a powder, for example, can cause pilling. Working eye shadow before your base means any fallout can be swept away without disturbing your foundation.
The general rule — mirrored in skincare layering logic — is to move from thinnest to thickest texture, and from skincare to color to setting. Once you internalize this logic, the routine becomes intuitive rather than something you have to memorize.
This guide covers a practical, buildable everyday sequence. You don't have to use every product listed — adapt it to what you actually own and the coverage level you prefer.
What you will need
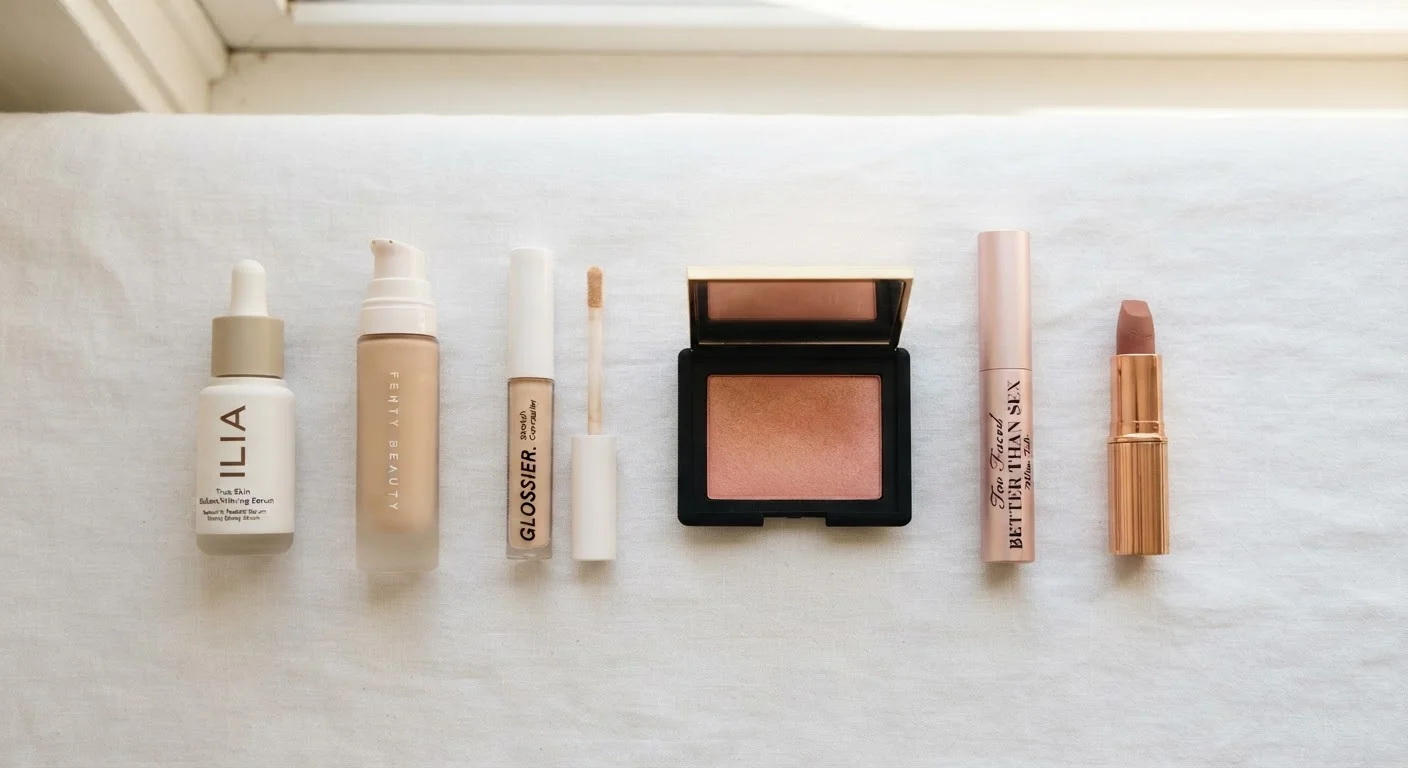
Your Step-by-Step Makeup Sequence
Follow these steps in order for a polished result. Each step builds on the one before it, so skipping ahead can affect how subsequent products sit on the skin.
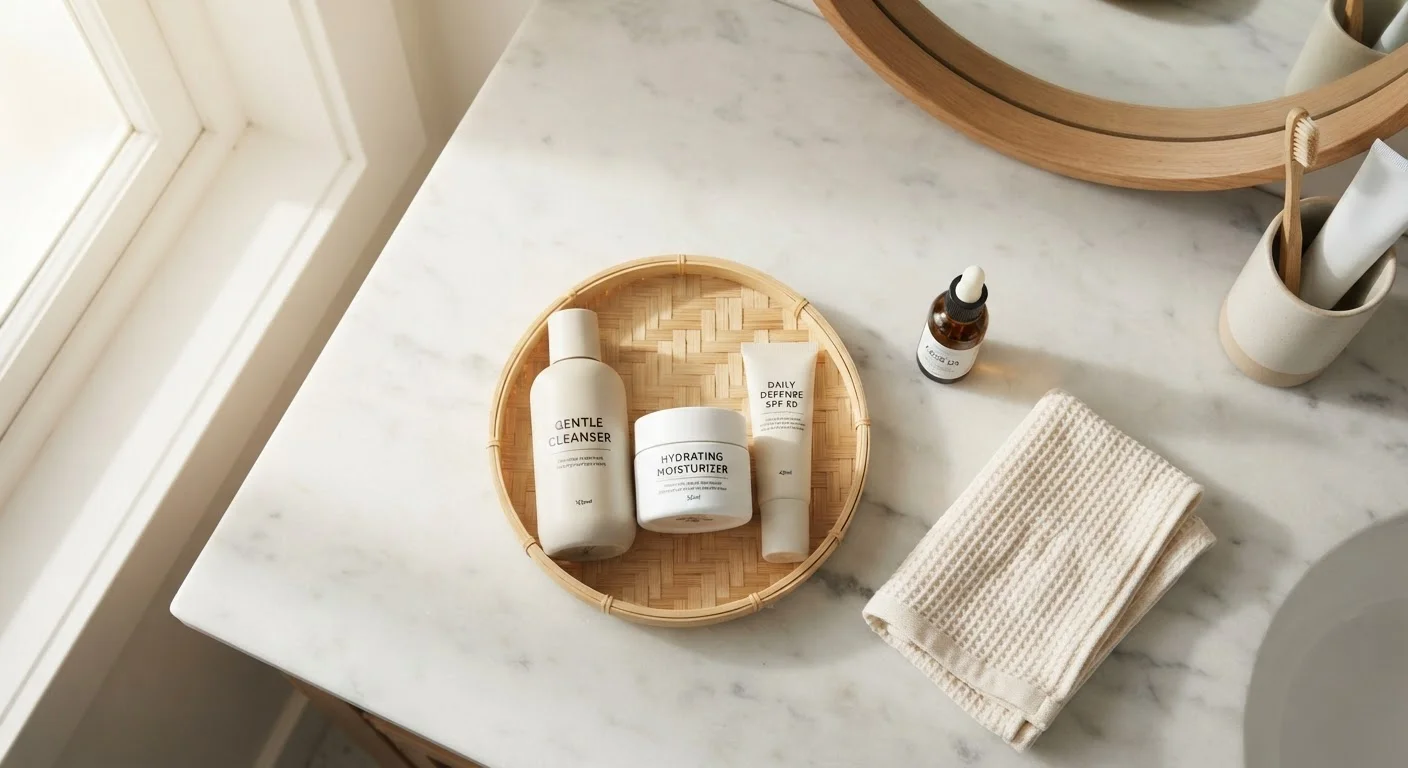
Apply Moisturizer and SPF
Makeup adheres best to hydrated skin. After your skincare routine, allow your moisturizer — and any sunscreen you use — to absorb for at least one to two minutes before moving on. Rushing this step can cause foundation to slide or pill.
Apply Primer (If Using)
Primer creates a smoother surface for foundation and can extend wear time. Choose a formula suited to your skin type: silicone-based primers smooth texture and pores, while hydrating primers work well for drier skin. Apply a thin, even layer and let it set for about 30 seconds before moving on.
Do Your Eye Makeup First
Working on eye shadow, liner, and mascara before you apply foundation is a strategic move: any fallout pigment from eye shadow drops onto bare skin, where it can be dusted away cleanly. Doing eyes after foundation means risking smudges on a finished base.
Apply shadow from lightest to darkest shade, blend well, then finish with liner and mascara once the rest of your eye look is set.
Apply Foundation or Tinted Moisturizer
Choose the coverage level that suits your preference and skin on a given day. Apply foundation with a damp sponge, brush, or fingertips, blending outward from the center of the face. Feather it into the hairline and jaw to avoid visible edges.
A tinted moisturizer is a lighter alternative that can be sheered out further for a natural finish — useful for low-effort days.
Conceal Where Needed
Concealer goes on after foundation because your base coverage may already address some areas, reducing how much concealer you actually need. Dab concealer under the eyes, around the nose, or on any blemishes, then blend edges thoroughly so there's no visible line of demarcation.
Add Color — Blush, Bronzer, or Highlighter
These products sculpt and add dimension. Apply bronzer first in the areas where the sun would naturally hit — temples, cheekbones, and the bridge of the nose. Blush goes on the apples of the cheeks and blends upward. Highlighter, if used, is applied last to the high points of the face for a reflective finish.
Powder formulas are easiest to blend and layer for beginners; cream formulas offer a more natural finish but require slightly more blending skill.
Fill and Define Brows
Defined brows frame the face and complete a polished look with minimal effort. Use a brow pencil, powder, or tinted gel in a shade close to your natural hair color. Fill sparse areas with light strokes rather than heavy lines, then comb through with a spoolie brush to blend.
Set with Powder or Setting Spray
Setting prolongs wear and controls shine. A translucent loose or pressed powder works well for oily or combination skin — apply lightly with a fluffy brush to avoid a chalky finish. A setting spray is a good alternative for dry skin or anyone who finds powder feels heavy; mist it at arm's length across the finished face.
Apply Lip Color
Lip product is the final step — this prevents smudging any base product while blending and keeps the color vivid since it hasn't had time to transfer. Apply liner first if you want more definition or longevity, then fill in with your chosen lip color. Blot and reapply for longer wear.
Build Up, Don't Layer Down
The most common reason everyday makeup looks heavy or cakey is over-application at each step rather than poor product choice. Start with a minimal amount at every stage, assess what you actually need, and add more only where coverage is genuinely required. This approach also makes blending easier and wear time longer.
For technique guidance specific to your eye shape, see our eye-shape application reference. And if any steps here challenge assumptions you've held for a while, our article on common makeup myths is worth a read.
Keeping the Routine Sustainable
An everyday routine only works if it fits your actual morning. If ten steps feel like too many, identify the two or three that make the biggest difference for you — most people find that a tinted moisturizer, a brow product, and mascara can carry an entire look.
Consistency matters more than complexity. A well-executed minimal routine will almost always outperform a rushed full face. As your comfort with each step grows, adding products becomes straightforward rather than overwhelming.
For readers who want to round out their broader beauty habits, our Skincare Basics hub covers the skin-prep side of the equation in depth, and our simple nail care guide is a useful companion for a polished overall look.
Don't Skip Removal at Night
Even a minimal everyday routine needs to be properly removed before sleep. Leaving makeup on overnight can contribute to clogged pores and skin irritation over time. A gentle micellar water, cleansing balm, or dedicated makeup remover followed by your regular cleanser is all that's needed — don't rely on makeup wipes alone as the final step.