Why a Pre-Trip Inspection Matters
Most vehicle breakdowns are not random — they are predictable. Studies by roadside assistance organizations consistently find that tire problems, dead batteries, and overheating are among the leading causes of highway calls for help. A structured inspection before a long drive catches the conditions that lead to these failures while you still have time and space to address them safely.
This checklist is organized by system so you can move through your vehicle methodically without doubling back. Keep in mind that if any item reveals a concern you are not confident addressing yourself — particularly brake wear, suspension noise, or fluid leaks — have a qualified mechanic evaluate the vehicle before departure. The goal is not to perform repairs on the spot, but to make an informed go/no-go decision.
If you are also planning the logistics of your trip, the pre-trip planning checklist covers booking, documents, and packing alongside the vehicle side of preparation. For the items to carry inside the car once it checks out, see what to pack before you leave the driveway.
Tires
Fluids
Lights and Visibility
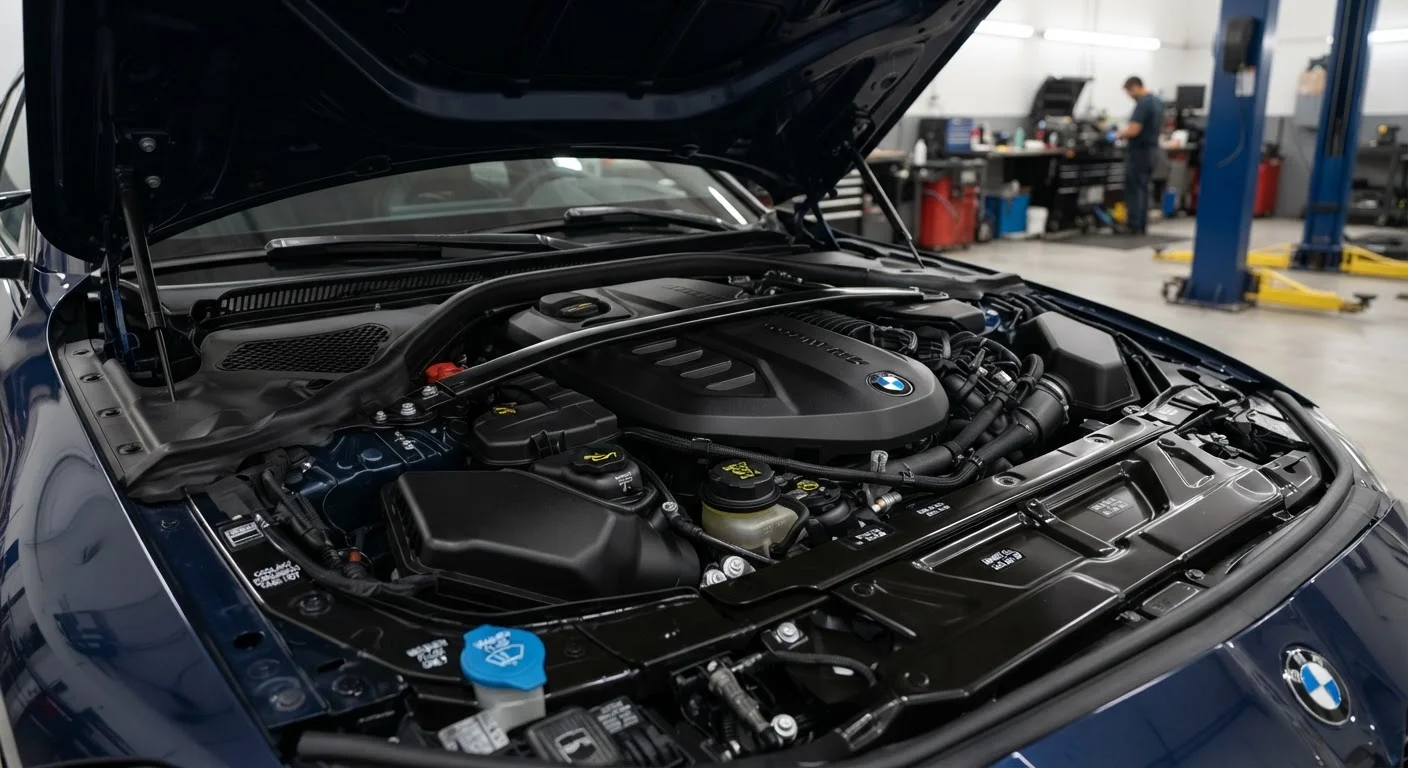
Brakes, Belts, and Under-Hood
Battery and Electrical
Interior and Safety Systems
Tools and Resources You Will Need
You do not need a full garage setup to complete this checklist. A few inexpensive items make the job faster and more accurate.
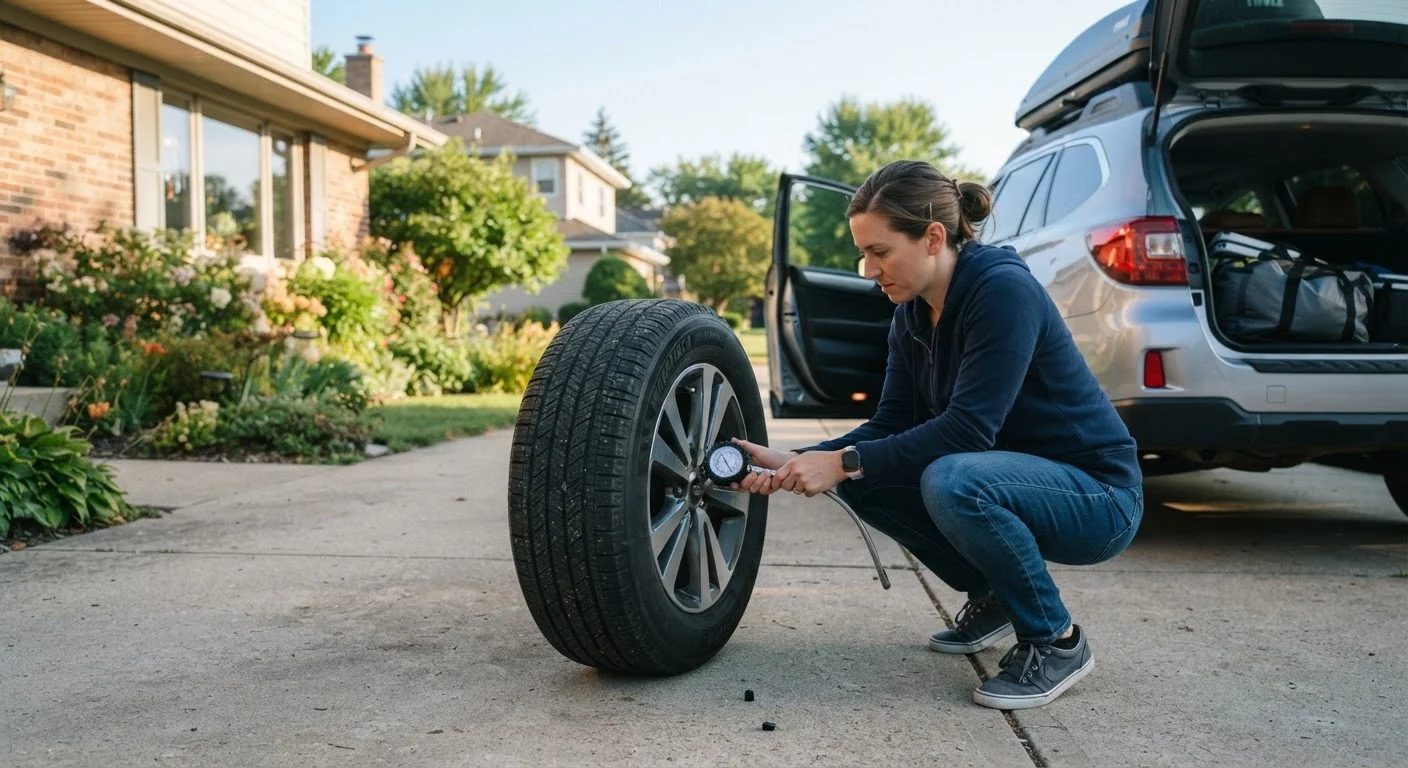
Tire pressure gauge
Measures PSI in each tire so you can compare to the manufacturer's recommended level.
Penny (or tread depth gauge)
Provides a quick field test of remaining tire tread depth.
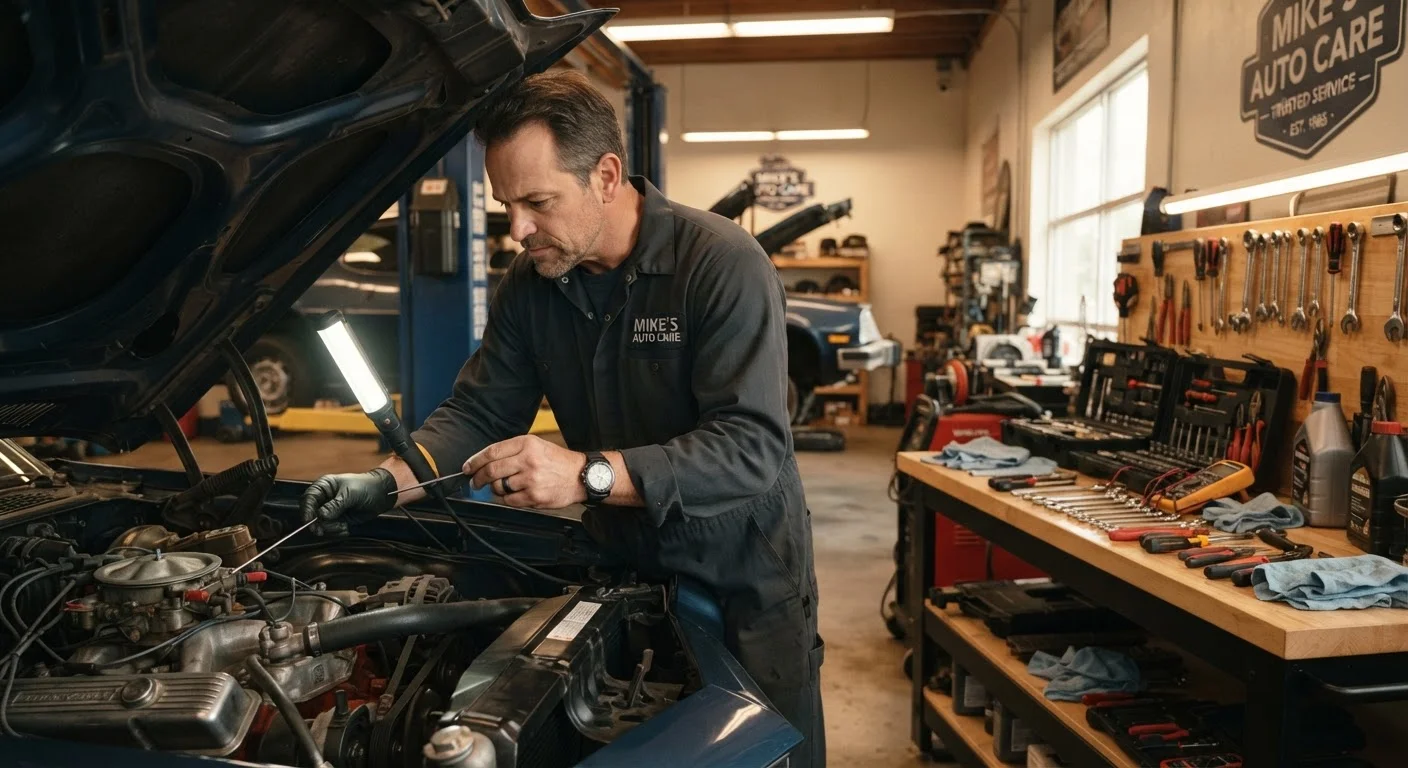
Flashlight or phone torch
Illuminates the engine bay, undercarriage, and tire sidewalls in poor lighting conditions.
Clean lint-free rag
Used to wipe the dipstick cleanly before re-inserting for an accurate oil level reading.
Portable jump starter
Allows you to restart a dead battery without requiring another vehicle — especially useful on remote routes.
After completing your inspection, verify that your emergency roadside kit is stocked and accessible in the vehicle. Even a perfectly maintained car can encounter a road hazard, and having the right gear on board limits your exposure.
Never Open a Hot Radiator Cap
Coolant systems are pressurized and can reach temperatures well above the boiling point of water. Opening the radiator cap on a warm or hot engine can cause scalding fluid to erupt. Always allow the engine to cool completely — typically 30 to 60 minutes — before checking coolant near the radiator cap. Checking the plastic overflow reservoir is safe and sufficient for a level check in most modern vehicles.
After the Inspection: Before You Pull Out
Once your physical inspection is complete, take two minutes to confirm a few non-mechanical items. Make sure your registration and proof of insurance are in the glove box. If you are crossing state lines, note that insurance requirements and speed limits vary. Verify that your phone is charged and that your navigation app has offline maps downloaded for areas with limited cell service.
For long drives with passengers, driver fatigue is a serious and commonly underestimated hazard — plan rest stops every two hours regardless of how alert you feel at departure. For seasonal-specific checks that complement this list year-round, the seasonal car maintenance checklist goes deeper on cold-weather fluids, summer cooling systems, and wiper blade cycles.
Dashboard Warning Lights Are Not Optional
A check engine, oil pressure, brake, or temperature warning light that remains illuminated after startup is not a cosmetic issue. These systems exist to alert you to conditions that can lead to engine damage, brake failure, or overheating at highway speeds. Do not plan to 'monitor it on the road' — have the vehicle diagnosed before departure if any warning light is active.